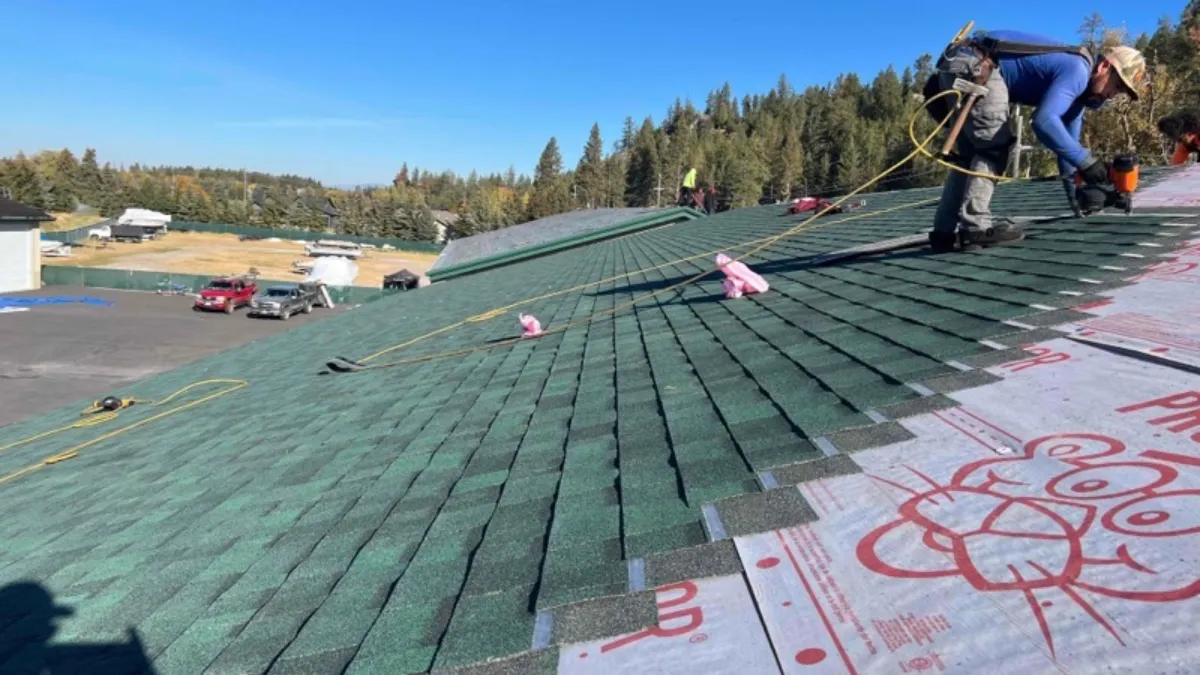
Learning how to replace a missing shingle is a valuable skill for homeowners, potentially saving time and money on roof maintenance. We at River City Roofing, having 20+ years of experience, understand the importance of maintaining a sound roof. A missing shingle might seem like a small issue, but it can lead to significant problems if left unaddressed.
In this guide we’ll walk you through the process of replacing a missing shingle step by step. From assessing the damage and gathering the necessary roofing materials to removing the damaged shingle and installing a new one, we’ll cover all the essential steps. By the end, you’ll have the knowledge to repair roof shingles and keep your home protected from the elements.
Assessing the Damage and Gathering Materials
Signs of Missing Shingles
Missing shingles can be identified through a visual inspection. From the ground, one can use binoculars to survey the roof from left to right and top to bottom. Look for gaps in the roof’s cover, similar to a missing puzzle piece. It’s also common to find fallen shingles on the lawn or driveway after a storm. Regular roof inspections are crucial to catch these issues early.
Tools and Materials Needed
To replace a missing shingle, one needs several tools:
- Roofing ladder or extension ladder
- Hammer or roofing hammer
- Pry bar
- Utility knife
- Galvanized roofing nails
- Replacement shingles
- Safety equipment (hard hat, safety harness, steel-toed shoes)
Safety Precautions
Safety should be the top priority when working on a roof. Here are some essential precautions:
- Use a fall protection system when working at heights of 6 feet or more
- Ensure the ladder is stable and properly secured
- Wear soft-soled shoes for better traction
- Avoid working in wet or slippery conditions
- Be cautious of power lines and use non-metallic ladders near them
- Keep the work area clean and organized
- Use toe boards or roof brackets on steep pitches
Remember, if you’re unsure about any aspect of the repair or feel uncomfortable working at heights, it’s best to call a professional roofing services for assistance.
Free Roof Inspections. Fast. Reliable.
Is your roof ready to weather the storm? Dont risk property damage. Our free roof inspections provide expert analysis to identify potential issues before they become costly problems.
Removing the Damaged Shingle
Loosening Surrounding Shingles
To replace a missing shingle, one must first loosen the surrounding shingles. This step is crucial to gain access to the nails holding the damaged shingle in place. Using a pry bar or putty knife, gently lift the edges of the shingles around the damaged one. It’s important to exercise caution during this process to avoid cracking or damaging the surrounding shingles.
For larger areas, one can use a shovel or fork to work under the shingles. Starting at the peak of the roof section farthest from the disposal area, work the tool under the ridge caps and pry them loose. Allow them to slide down to the roof jacks. Continue this process, working in 2 to 3-foot sections, moving down the roof.
Extracting Nails and Old Shingle
Once the surrounding shingles are loosened, the nails holding the damaged shingle can be accessed. Use a nail puller or pry bar to remove these nails carefully. After removing the nails, lift out the damaged shingle and dispose of it properly.
For more extensive repairs, continue removing shingles in 2 to 3-foot sections, working from the peak downwards. After removing all shingles down to the roof jacks, remove the jacks and take off the remaining shingles underneath.
It’s crucial to go over each section of the roof, pulling out any protruding nails. During this process, inspect for damaged sheathing. Any rotted or damaged sections will need replacement before installing new shingles.
Finally, sweep the roof clean with a push broom. Be cautious as shingle granules can be slippery. Move slowly and carefully while sweeping to maintain safety on the roof.
Installing the New Shingle
Preparing the New Shingle
Before installing the new shingle, it’s crucial to ensure it matches the existing ones in size, color, and material. Measure the space where the missing shingle was and cut the new shingle to fit if necessary. This step is vital for a seamless repair that blends with the rest of the roof.
Positioning and Securing
To install the new shingle, slide it into place beneath the shingle above it. Align it carefully with the surrounding shingles to maintain a uniform appearance. Once positioned correctly, secure the shingle using roofing nails. Generally, four to six nails are sufficient, but in areas with high winds, using up to six nails can provide extra security.
When nailing, follow these steps:
- Place nails about 5/8 inch above the cutouts in the shingle.
- Ensure nails are driven straight and flush with the shingle surface.
- Avoid overdriving nails, as this can damage the shingle.
- Space nails evenly across the shingle for optimal hold.
Sealing the New Shingle
After securing the shingle, apply a small amount of roofing cement under the tabs to seal it to the underlying shingle. This helps prevent wind uplift and water infiltration. Be careful not to use too much cement, as excess can cause the shingles to bubble.
For added protection, consider applying a roof sealant. Acrylic sealants work well in sunny areas, while polyurethane sealants are better for rainy or snowy regions. The sealant creates a water-resistant barrier, extending the life of the repaired area.
Remember, proper installation is key to preventing future leaks and ensuring the longevity of the repair. If you’re unsure about any step in the process, it’s best to consult a professional roofing contractor for assistance.
Finishing Touches and Maintenance
Inspecting the Repair
After replacing a missing shingle, it’s crucial to inspect the repair thoroughly. One should check for proper alignment and secure attachment of the new shingle. It’s important to ensure there are no gaps or exposed areas that could lead to water infiltration. A visual inspection from the ground can help identify any obvious issues, but for a more detailed assessment, it’s advisable to use binoculars or a ladder for a closer look.
Preventive Measures
Regular roof maintenance is key to preventing future shingle damage. Homeowners should conduct visual inspections at least twice a year, especially after severe weather events. Clearing debris from the roof and gutters helps prevent water buildup and potential damage. Trimming overhanging branches can reduce the risk of falling debris damaging shingles. It’s also important to ensure proper attic ventilation and insulation to prevent ice dams in colder climates.
When to Call a Professional
While minor repairs can be handled by homeowners, certain situations require professional expertise. If multiple shingles are missing or damaged, or if there are signs of structural issues like a sagging roof, it’s time to call a Professional roofing contractor. Professional inspections are recommended annually to catch potential problems early. For roofs nearing or past their expected lifespan, a professional assessment can determine if repairs or replacement are necessary.
Homeowners should also consider professional help if they’re uncomfortable working at heights or lack the necessary tools and skills for roof work. Safety should always be the top priority when dealing with roof maintenance and repairs.
Conclusion
Replacing a missing shingle is a crucial skill for homeowners to maintain their roof’s integrity. This guide has walked you through the essential steps, from assessing the damage and gathering materials to removing the old shingle and installing a new one. By following these instructions, you can tackle minor roof repairs with confidence, potentially saving time and money on professional services.
However, it’s important to recognize when a job is beyond your capabilities. For more complex issues or if you’re uncomfortable working at heights, it’s best to seek professional help. Regular roof maintenance and timely repairs are key to extending your roof’s lifespan and protecting your home from the elements. To ensure your roof stays in top condition, consider scheduling annual inspections with a qualified roofing contractor.

Comments are closed